

How to Deploy a Web App Using Jenkins CI/CD Declarative Pipeline🚀: A Step-by-Step Guide
Simplifying Development Processes and Speeding Up Deployment with Automated Pipelines


Table of contents
- What is CICD pipeline?
- Step 1: Setting up an EC2 Instance on AWS
- Step 2: Installing Docker, Nginx, and Java
- Step 3: Installing Jenkins
- Step 4: Accessing Jenkins and Initial Setup
- Step 5: Creating Jenkins Pipelines for Applications
- Step 6: Configuring Nginx for Reverse Proxy
- Step 7: Accessing the Deployed Application
In this step-by-step guide, we'll walk through deploying web app using Jenkins on an AWS EC2 instance. By following these instructions, you'll be able to set up a Jenkins server, configure it to deploy applications, and access your deployed application via a web browser.
Tools we will be using in the project:
AWS-EC2
GitHub
Docker
Jenkins
What is CICD pipeline?
CI/CD (Continuous Integration/Continuous Deployment) pipeline is a set of automated processes that helps to integrate code changes, build, test, and deploy applications continuously. The primary goal of a CI/CD pipeline is to enable fast and reliable delivery of changes to production.
A typical CI/CD pipeline consists of several stages, including:
Code Integration: In this stage, developers integrate their code changes into a shared repository.
Build: In this stage, the CI system builds the code and runs any necessary tests.
Test: In this stage, the code is tested using various testing techniques, including unit tests, integration tests, and end-to-end tests.
Deployment: In this stage, the code is deployed to production or a staging environment.
Monitoring: In this stage, the system monitors the deployed application for performance and stability.
Step 1: Setting up an EC2 Instance on AWS
Launching EC2 Instances:
Log in to the AWS Management Console and navigate to the EC2 dashboard.
Click on "Launch Instance"
Name - "Jenkins-server"
AMI - "Ubuntu"
Instance type - "t2.micro (free tier)"
Key pair : Create > "devops-project.pem" (Download the .pem file.)
Auto-assign public IP - "Enable"
Firewall (security groups) - "Select Create security group"
Allow SSH (port 22) traffic from anywhere.
Allow HTTP (port 80) traffic from anywhere.
Storage - 20 GiB
Click on "Launch instance"

Change in Security Group for Jenkins:
Check which security group is attach to ec2 instance. In my case its "launch-wizard-1"
Click on "Security Groups" Select "launch-wizard-1" and Edit inbound rules.
Click on "Add rule"
Type - "Custom TCP", Port range - "8080", Source - "0.0.0.0/0"
Click on "Save"

Launch the instance and SSH into it using the public IP.
Go to folder where your pem file is downloaded
SSH into the EC2 instance using the public IP address.(change pem key and public ip address as per your instance)
ssh -i 'devops-project.pem' ubuntu@44.202.63.145
Step 2: Installing Docker, Nginx, and Java
Install Docker and Nginx :
Now, we are in ec2 server.
To install docker and nginx run this commands.
    sudo apt-get update
    sudo apt install nginx
    sudo apt install docker.io
    sudo systemctl enable nginx
    sudo systemctl enable docker
Install Java OpenJDK 17 as it's a prerequisite for Jenkins :
- To install Java run this commands.
sudo apt update
sudo apt install fontconfig openjdk-17-jre
java -version
Step 3: Installing Jenkins
- Install Jenkins using the provided commands or click here to get commands
sudo wget -O /usr/share/keyrings/jenkins-keyring.asc \
  https://pkg.jenkins.io/debian-stable/jenkins.io-2023.key
echo "deb [signed-by=/usr/share/keyrings/jenkins-keyring.asc]" \
  https://pkg.jenkins.io/debian-stable binary/ | sudo tee \
  /etc/apt/sources.list.d/jenkins.list > /dev/null
sudo apt-get update
sudo apt-get install jenkins
Run the following command to edit the sudoers file using the
visudocommand:sudo visudoThis command will open the sudoers file in a text editor. Add the following line at the end of the file:
jenkins ALL=(ALL) NOPASSWD:ALL
Step 4: Accessing Jenkins and Initial Setup
Access Jenkins using http://<public-ip>:8080 so im using http://44.202.63.145:8080
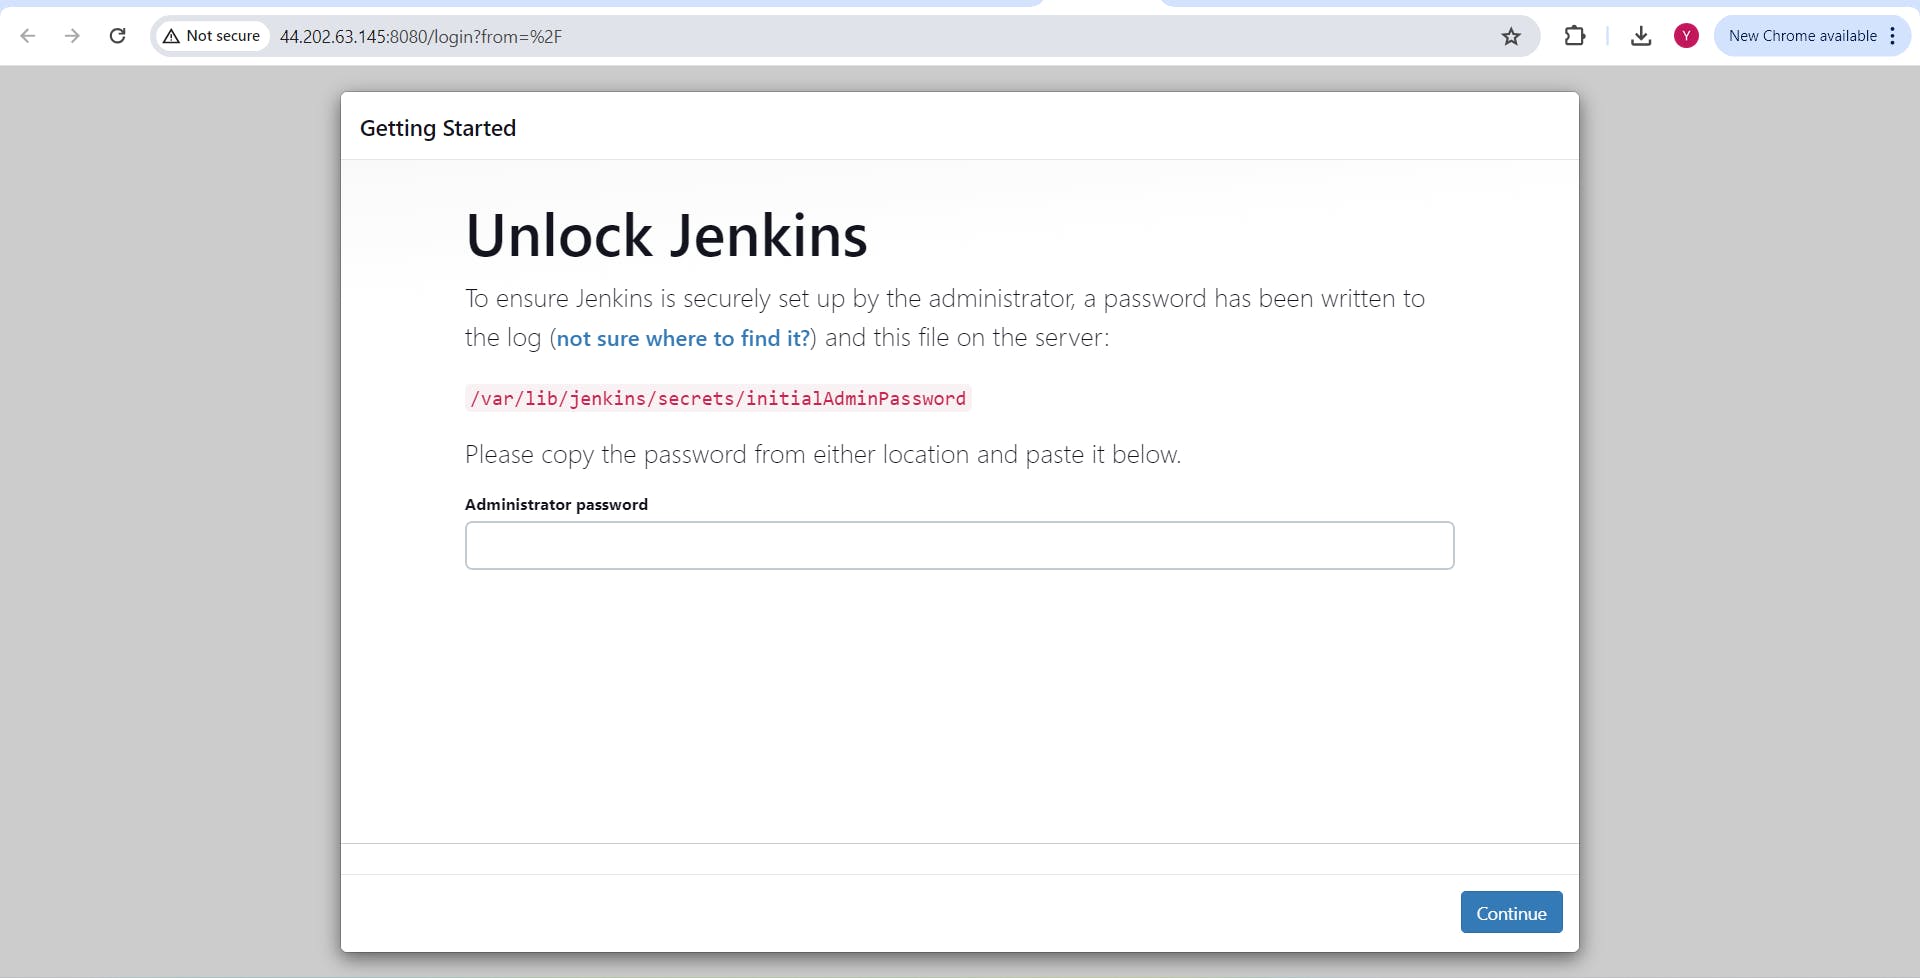
Retrieve the administrator password from the specified path and use it to unlock Jenkins.

Click on "Install suggested plugins"

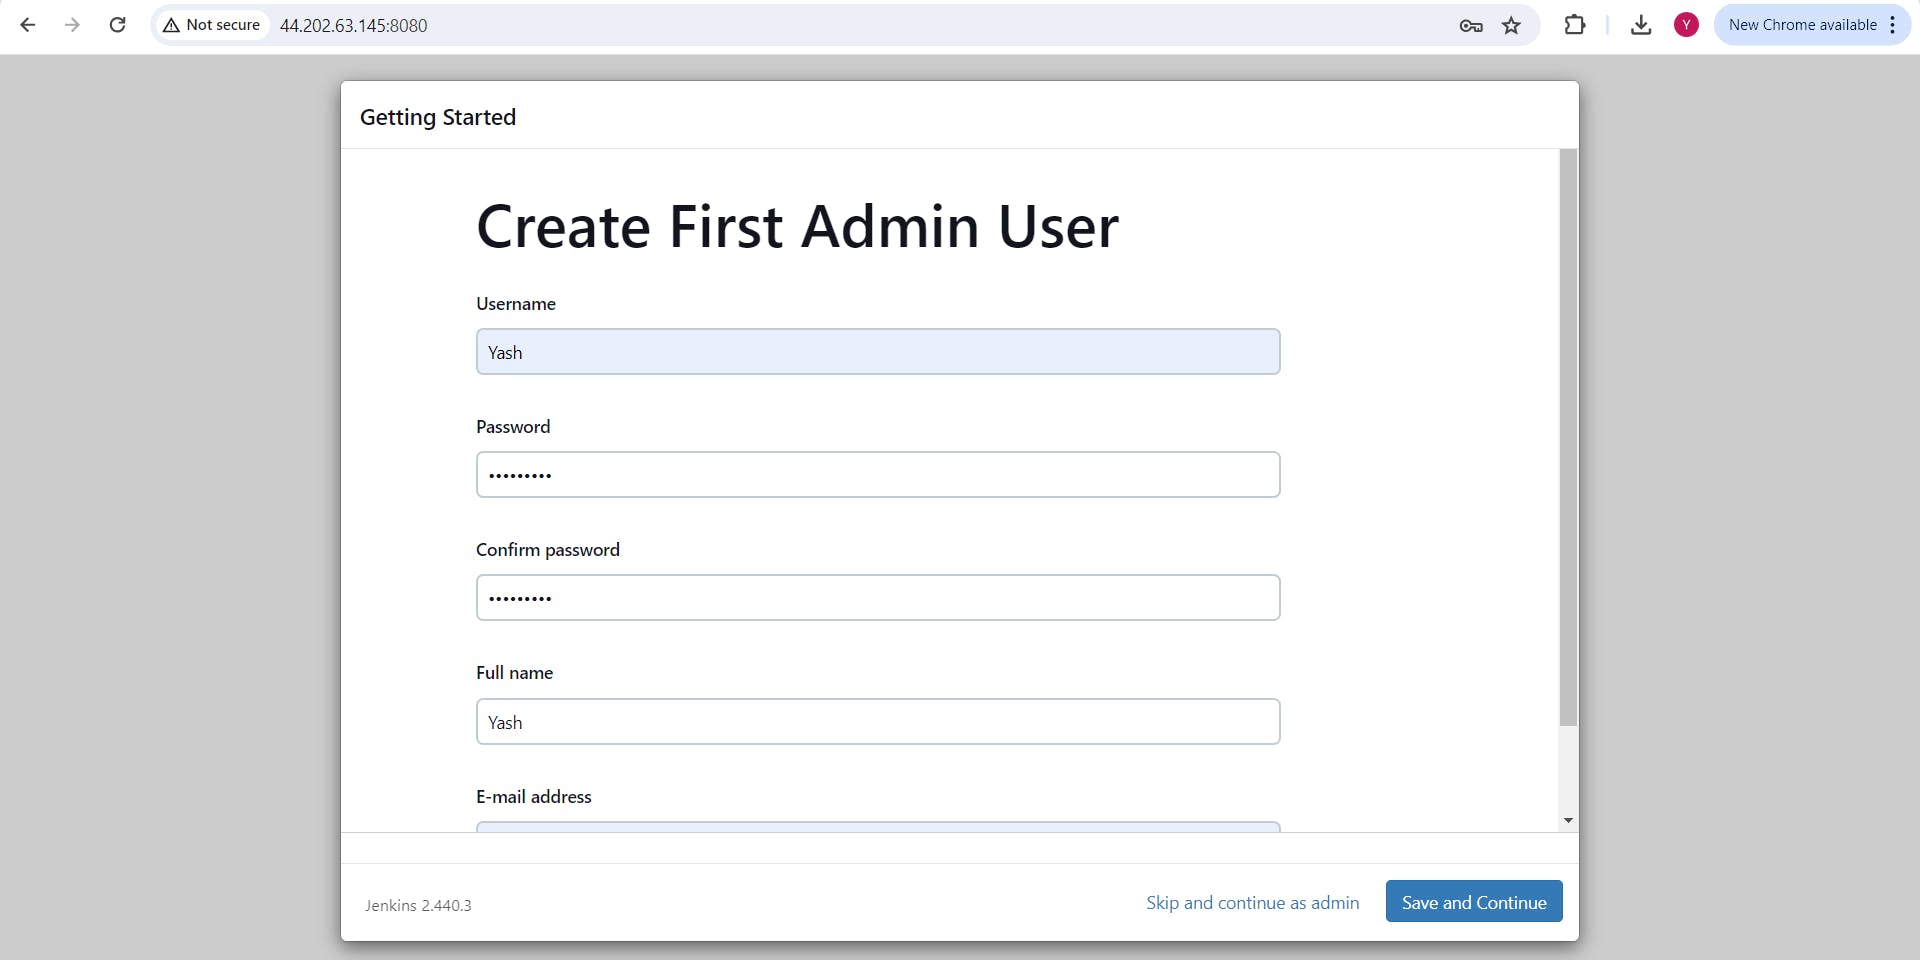
create the first admin user.
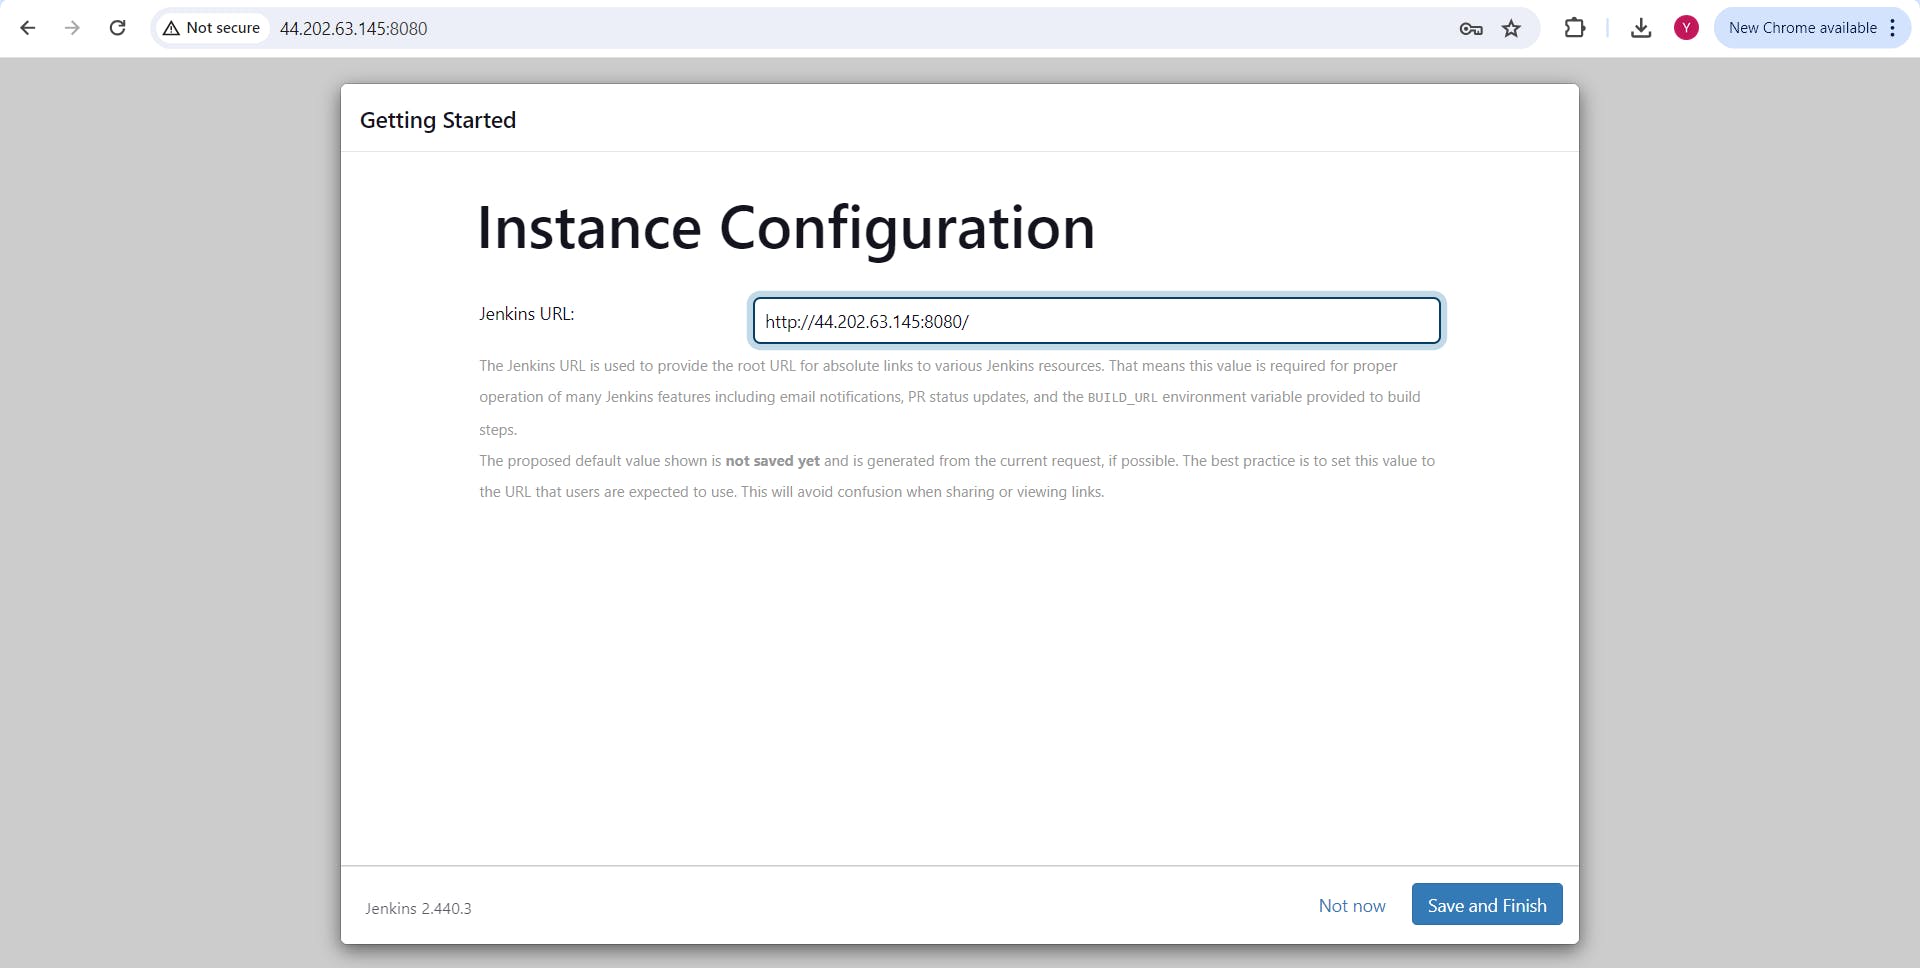
Configure Jenkins URL as http://<public-ip>:8080/ and start using Jenkins.
Step 5: Creating Jenkins Pipelines for Applications
Create a Pipeline for the frontend :
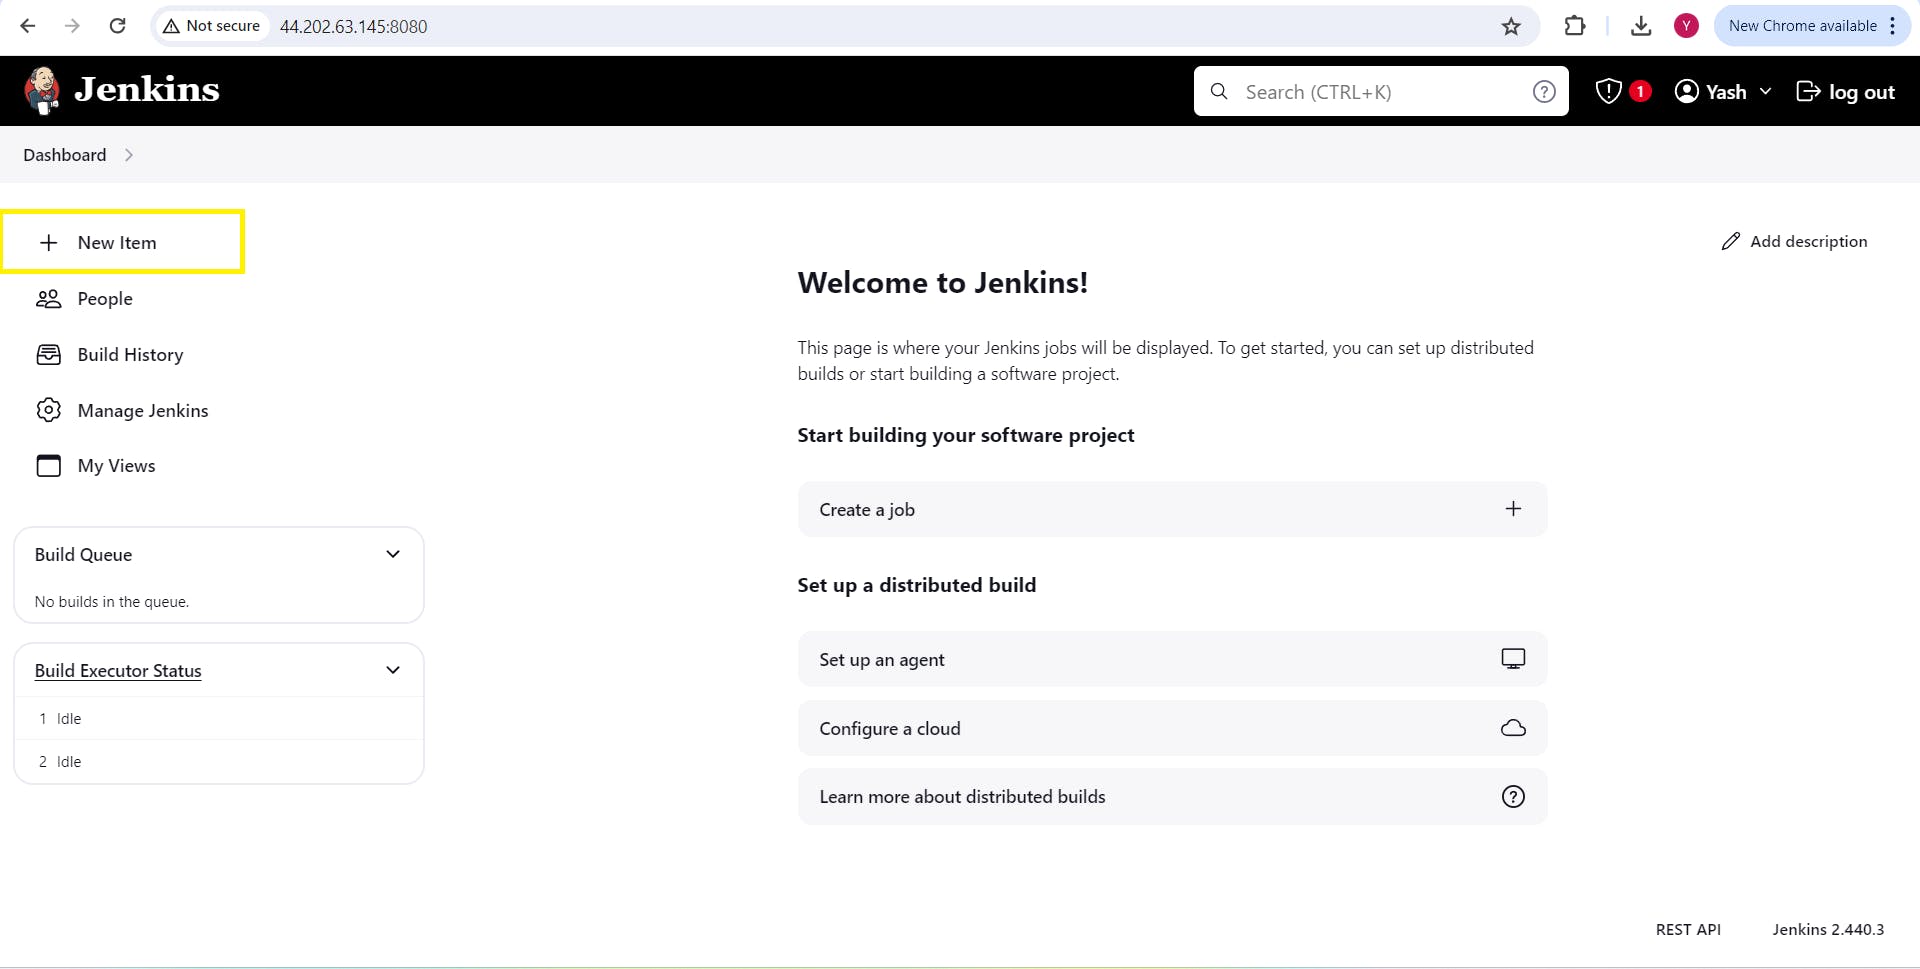
Click on "New Item"
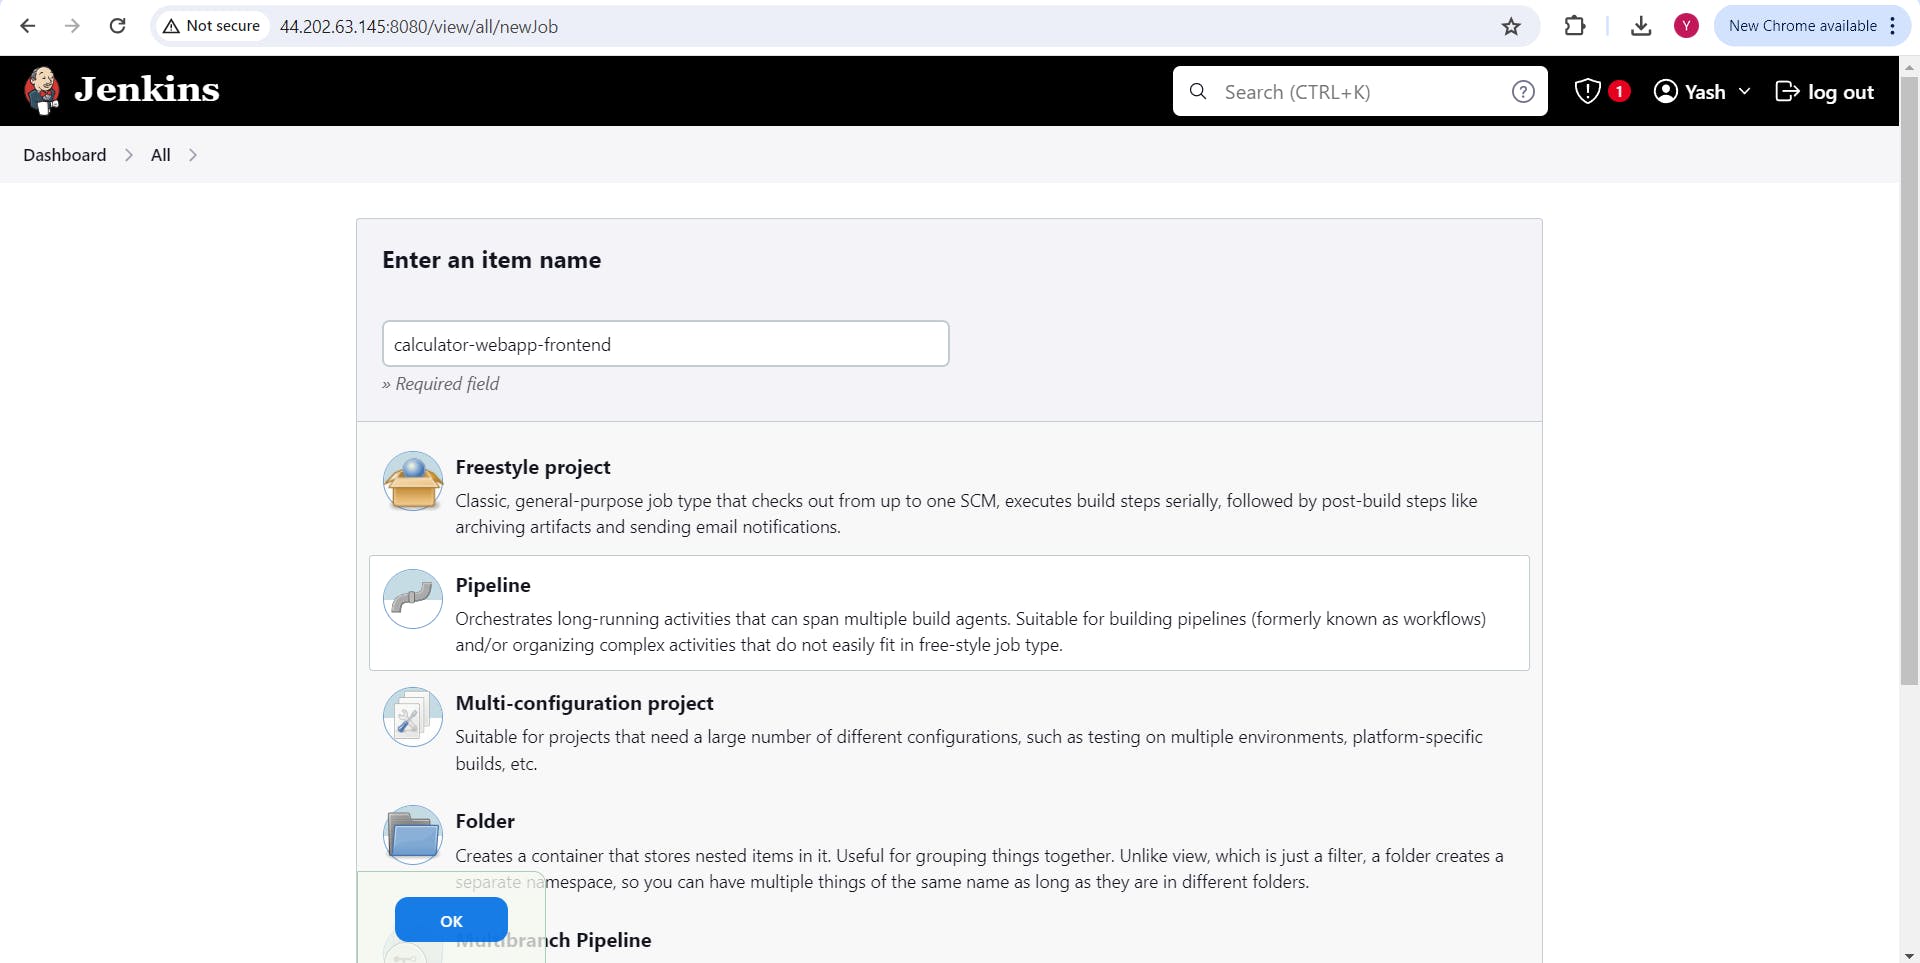
Enter an item name - "calculator-webapp-frontend"
Click on pipeline and click on "ok"
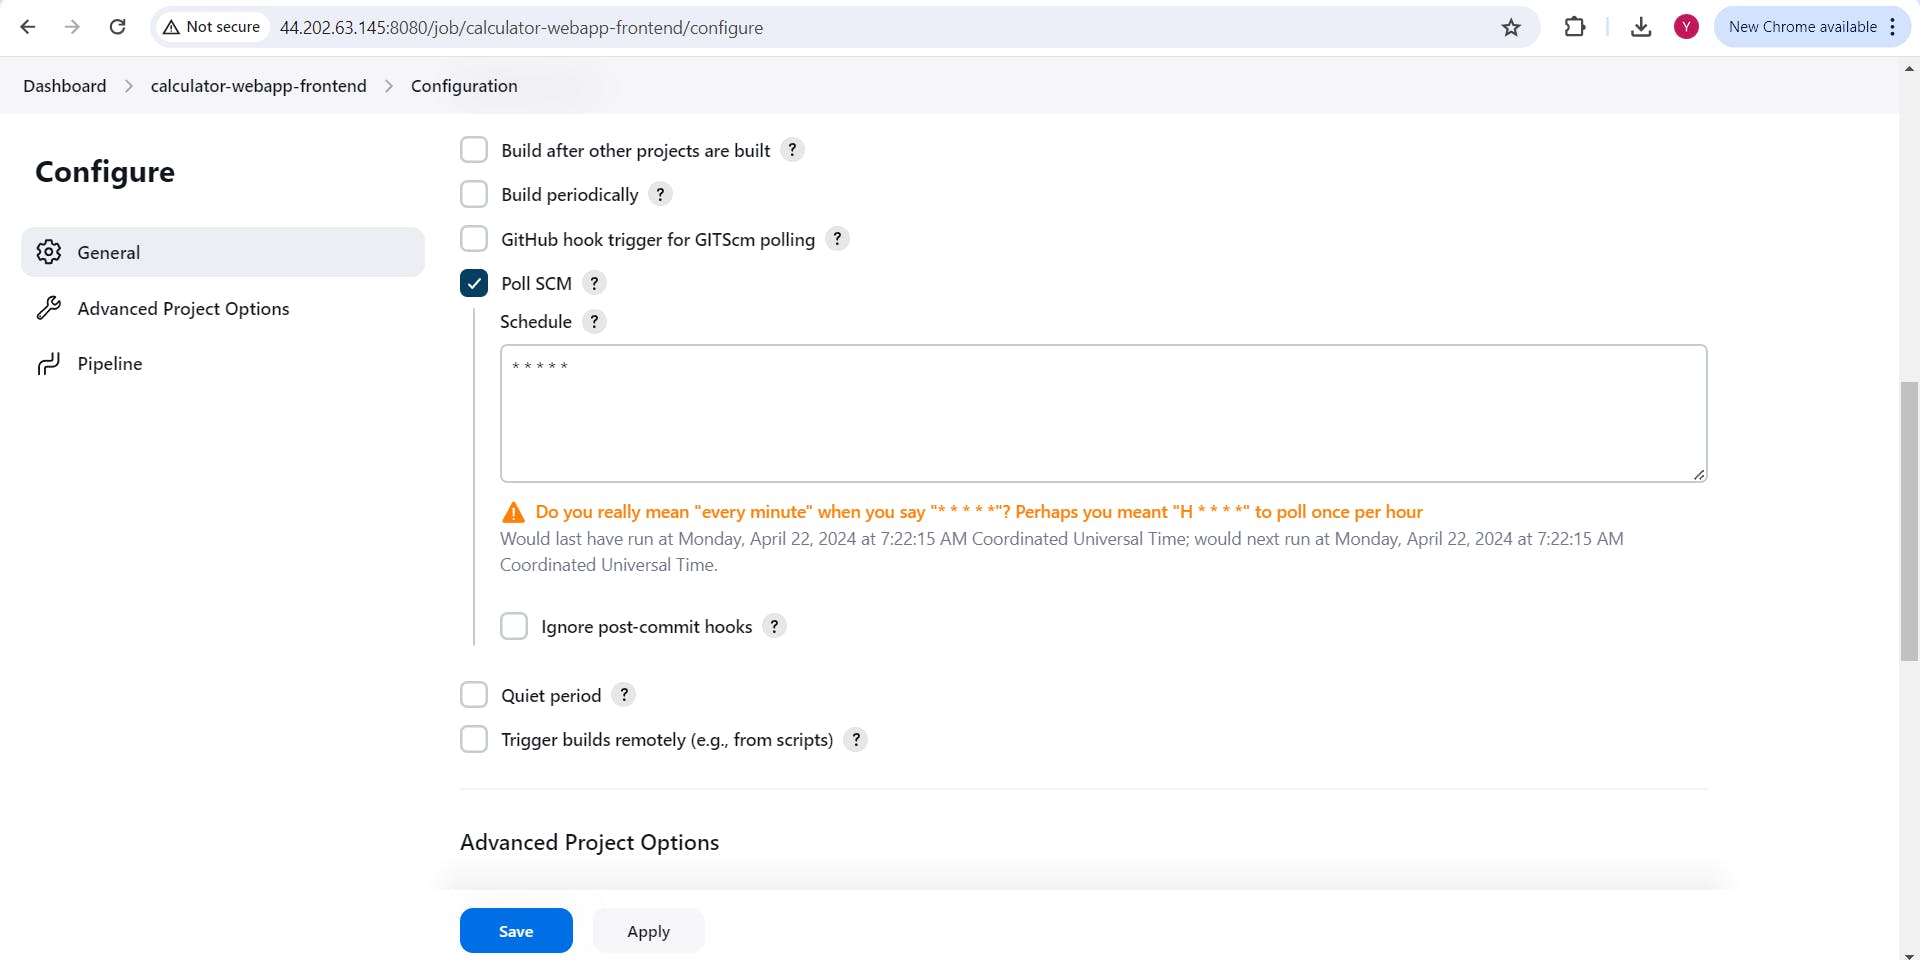
Give Description and scroll down
Check on "Poll SCM" and In Schedule put (* * * * *) so it will represent every minute and scroll down
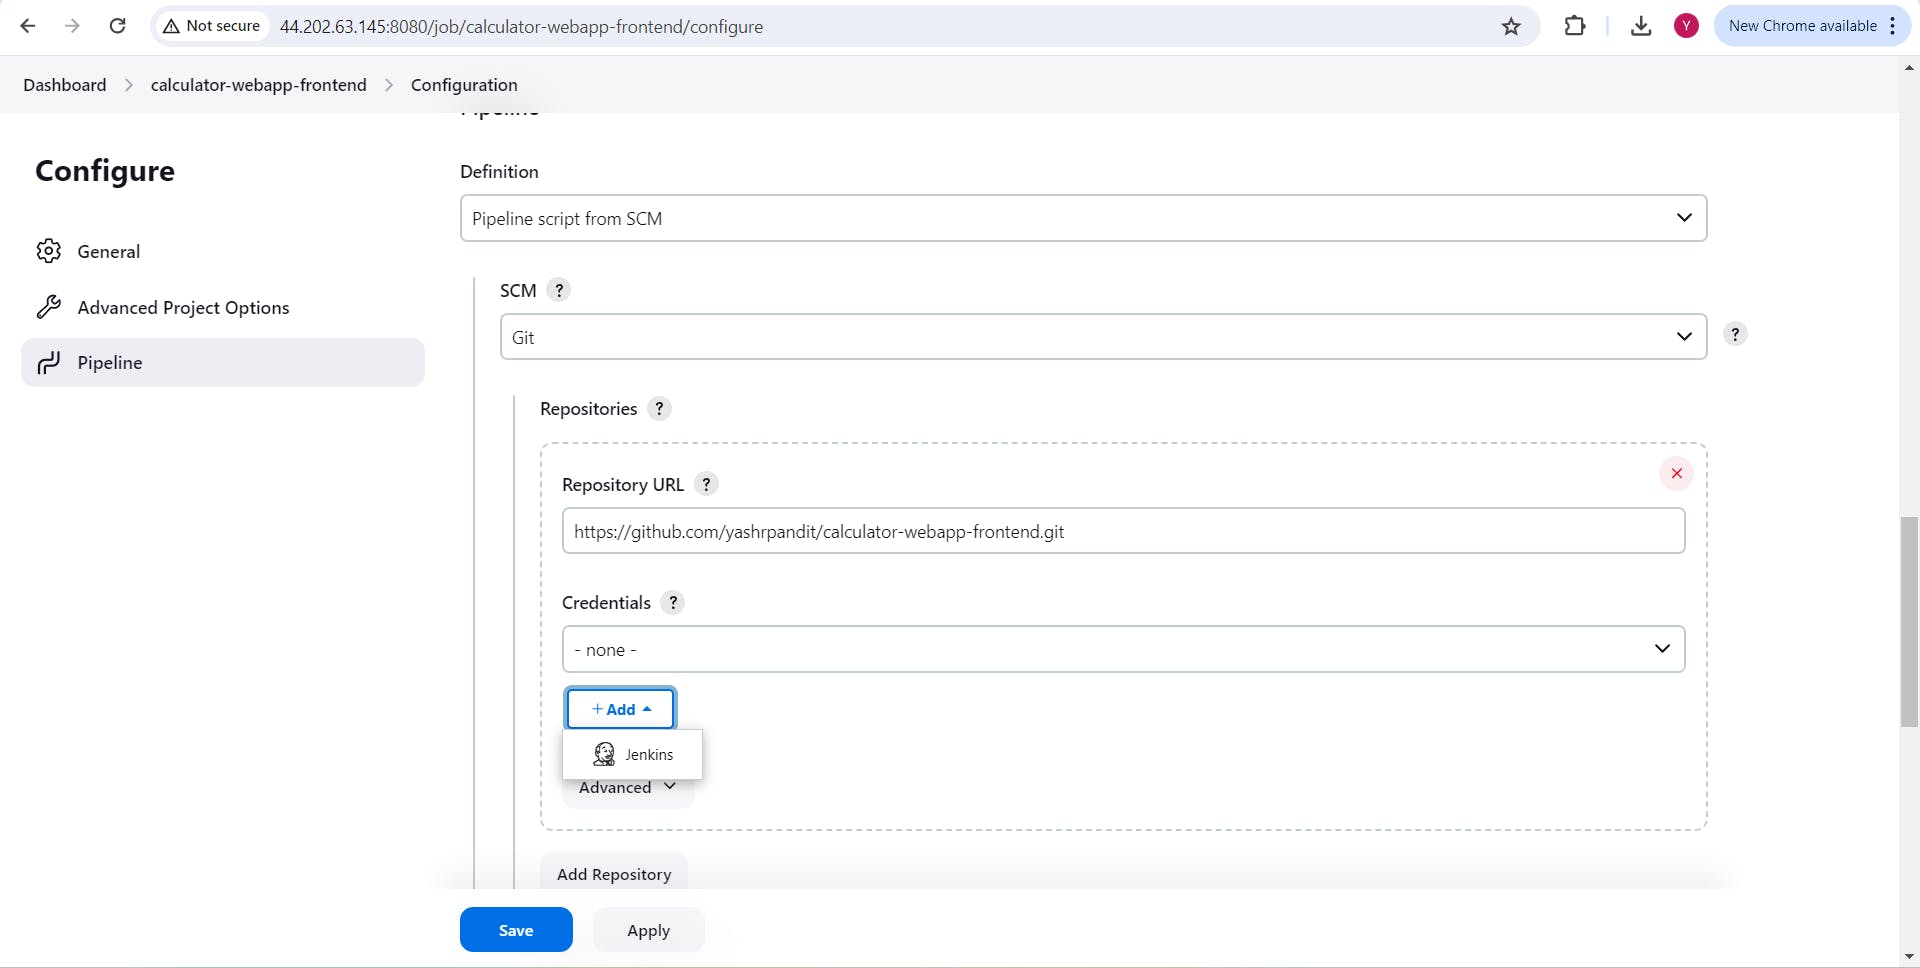
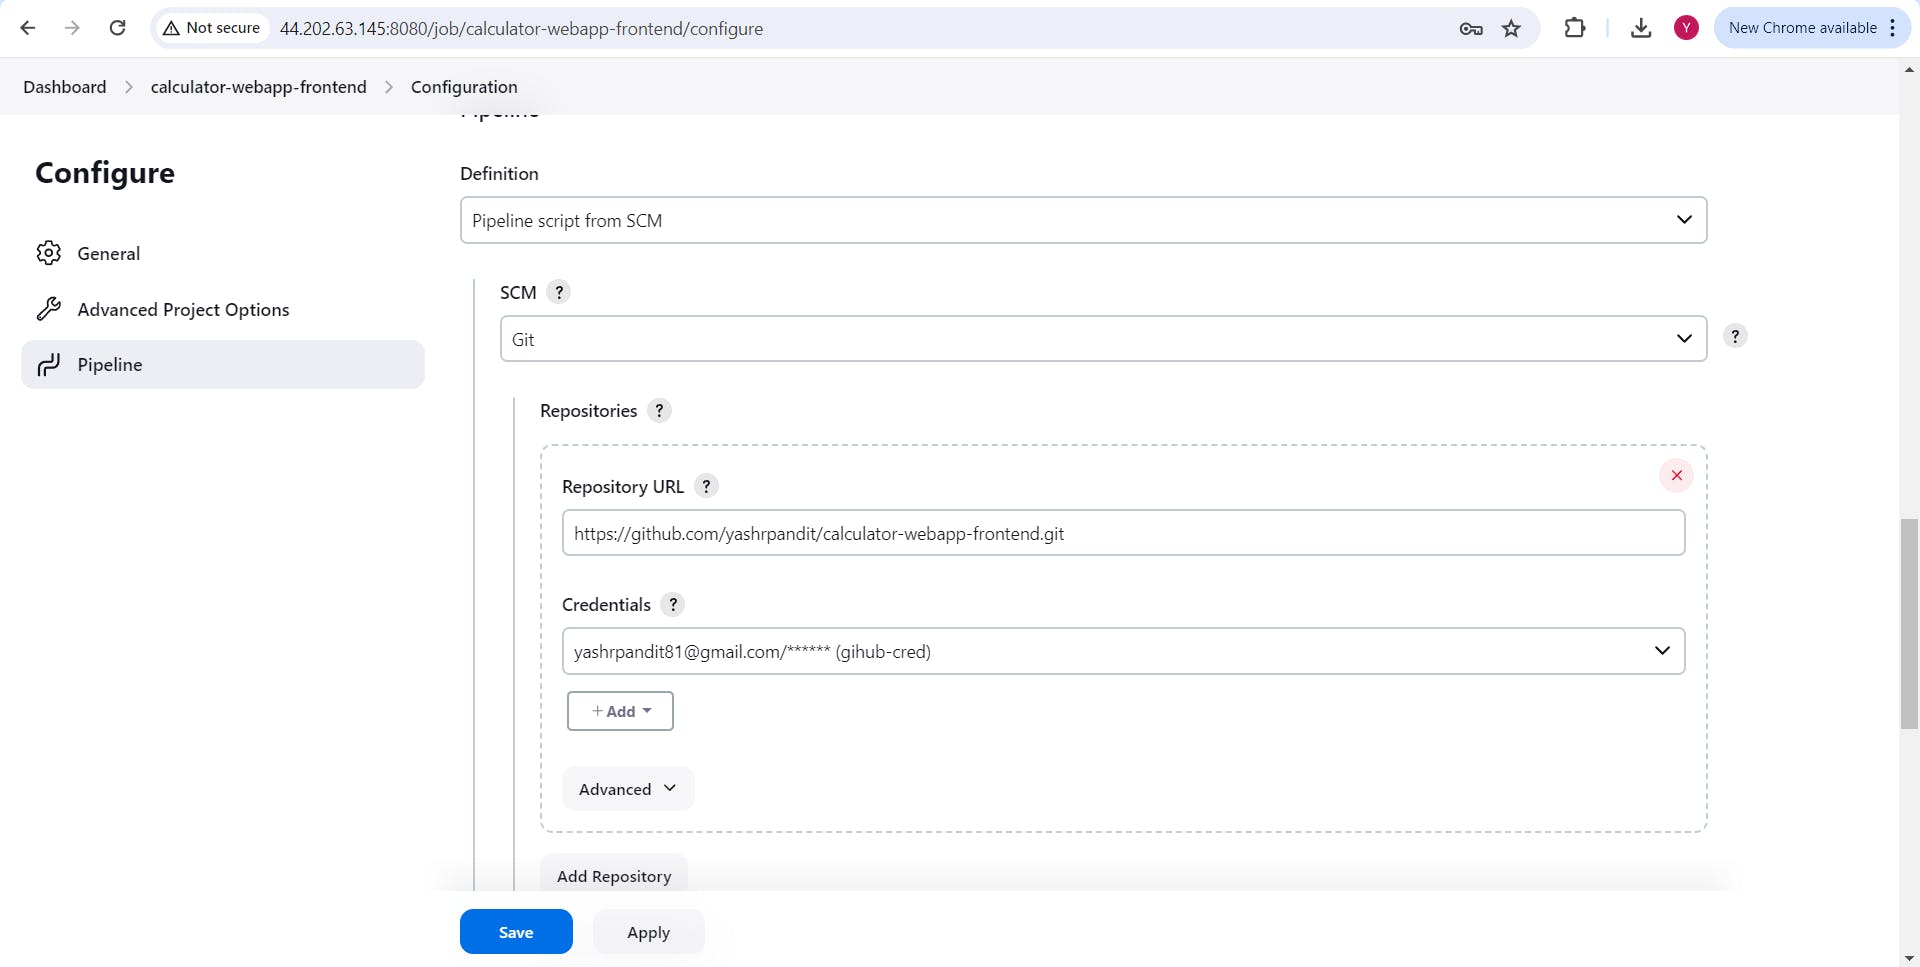
In Pipeline , under Defination select "Pipeline script from SCM"
Under SCM select "Git"
Repository URL Put "https://github.com/yashrpandit/calculator-webapp-frontend.git" or you can create Forked this repo.
under credential section Click on "Add", Click on "Jenkins"
Select "Global credentials", Kind - "Username and Password"
Scope - "Global". Under username, enter your GitHub account username, and under password, enter your GitHub account password.
ID and Decription - "github-cred" and click on "Add"

Now, select "github-cred" under Credentials.
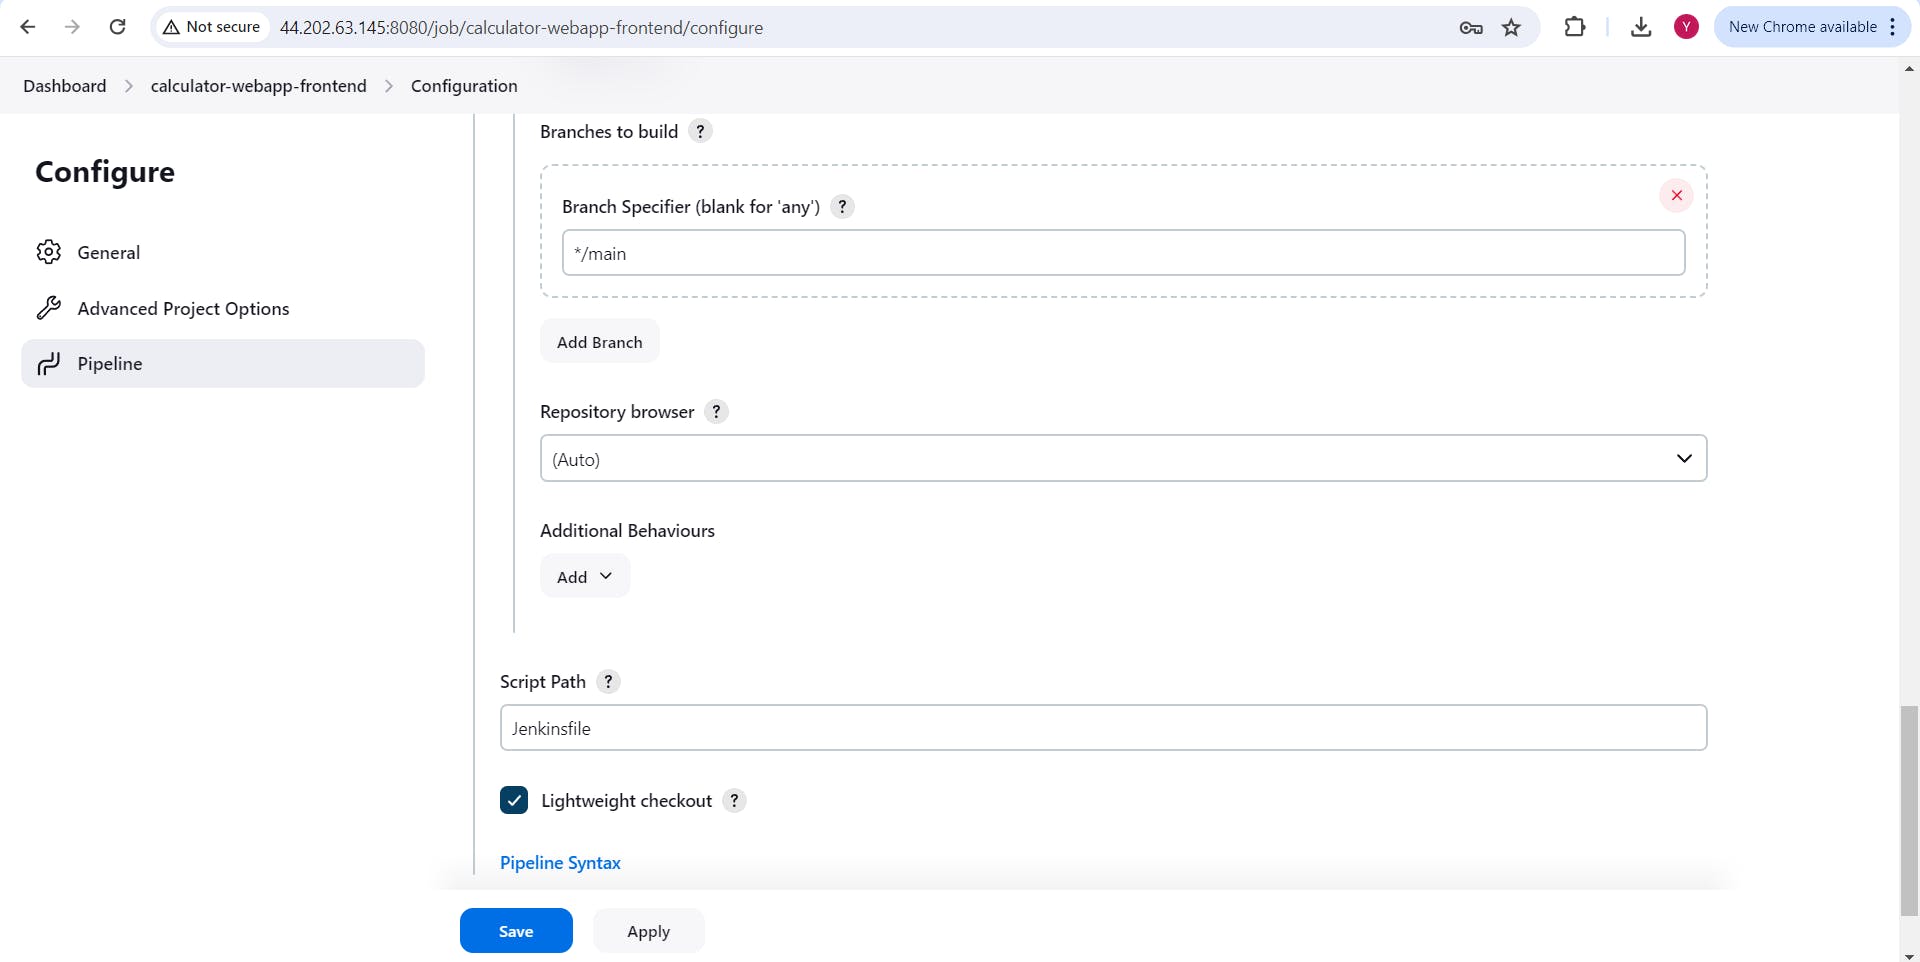
Under Branch Specifier - "*/main" Script Path - "Jenkinsfile"
Click on "save"
To run pipeline click on "Build Now" or wait for minute so it will trigger automatically.

Create a Pipeline for the backend :
Now, go back to Dashboard
Click on "New Item"
Enter an item name - "calculator-webapp-backend"
Click on pipeline and click on "ok"

Give Description and scroll down
Check on "Poll SCM" and In Schedule put (* * * * *) so it will represent every minute and scroll down
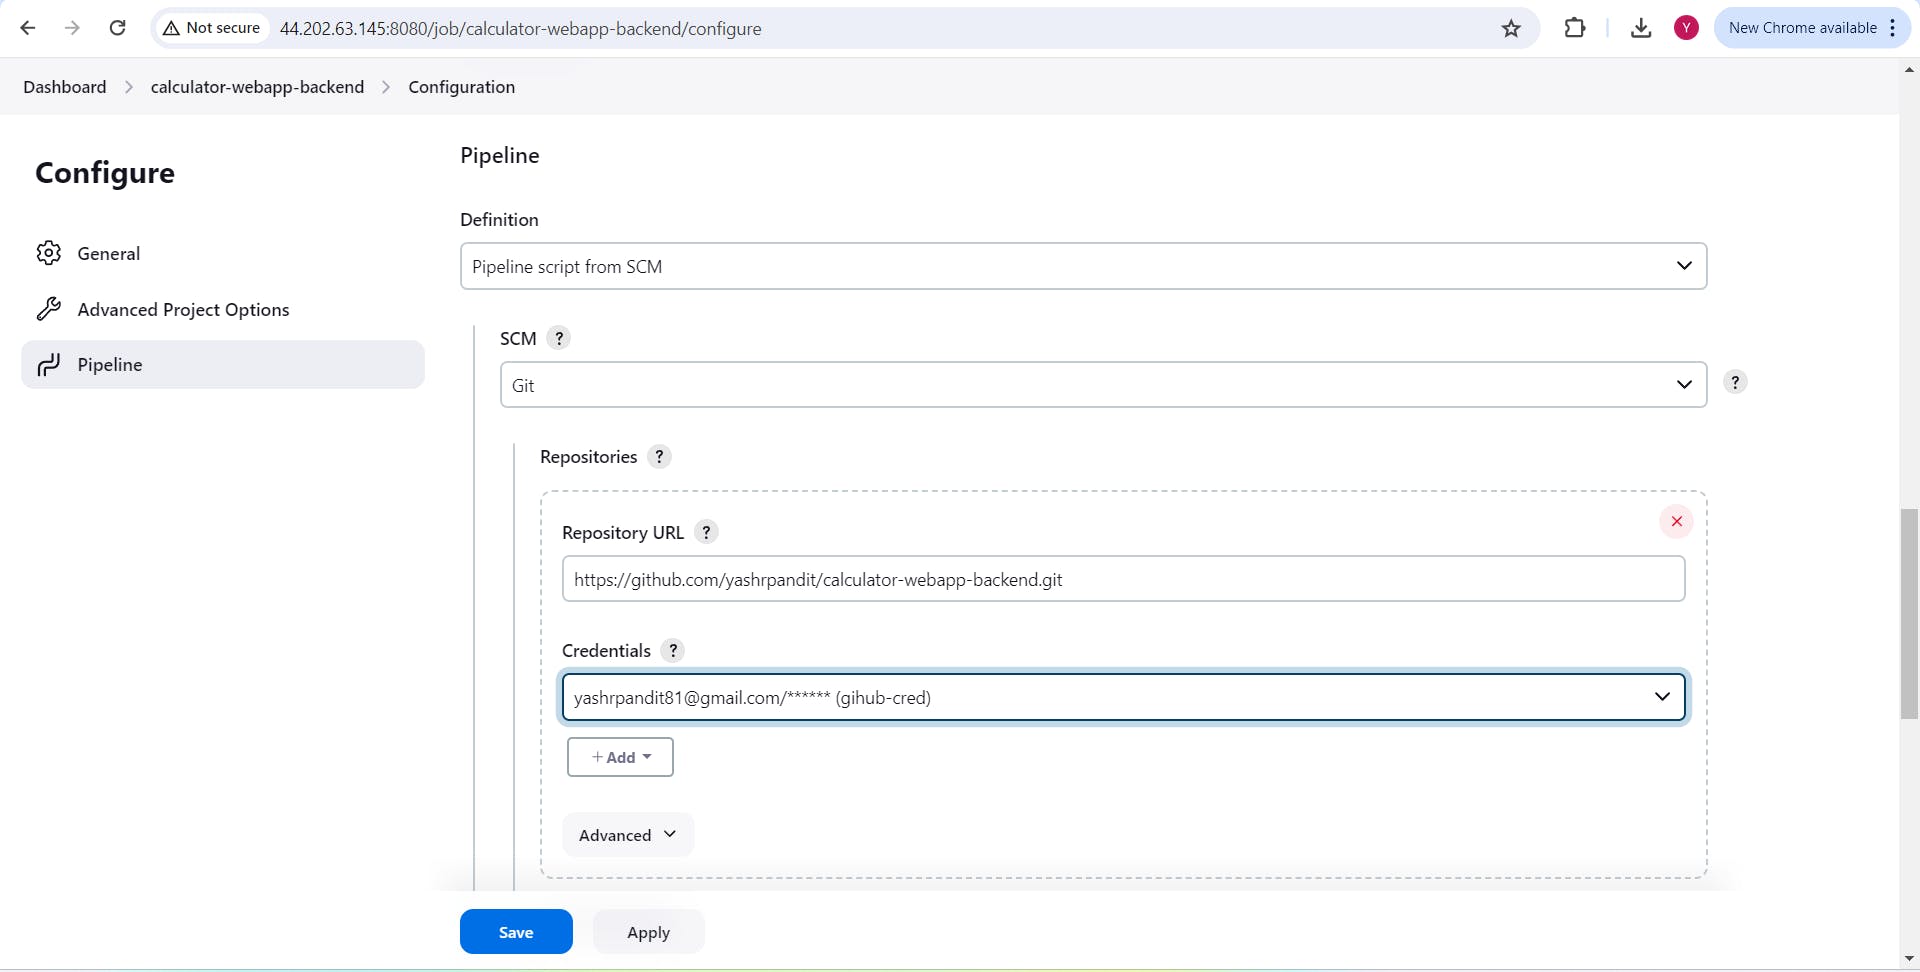
In Pipeline , under Defination select "Pipeline script from SCM"
Under SCM select "Git"
Repository URL Put "https://github.com/yashrpandit/calculator-webapp-backend.git" or you can create Forked this repo.
under credential section select "github-cred"
Under Branch Specifier - "*/main" Script Path - "Jenkinsfile"
Click on "save"
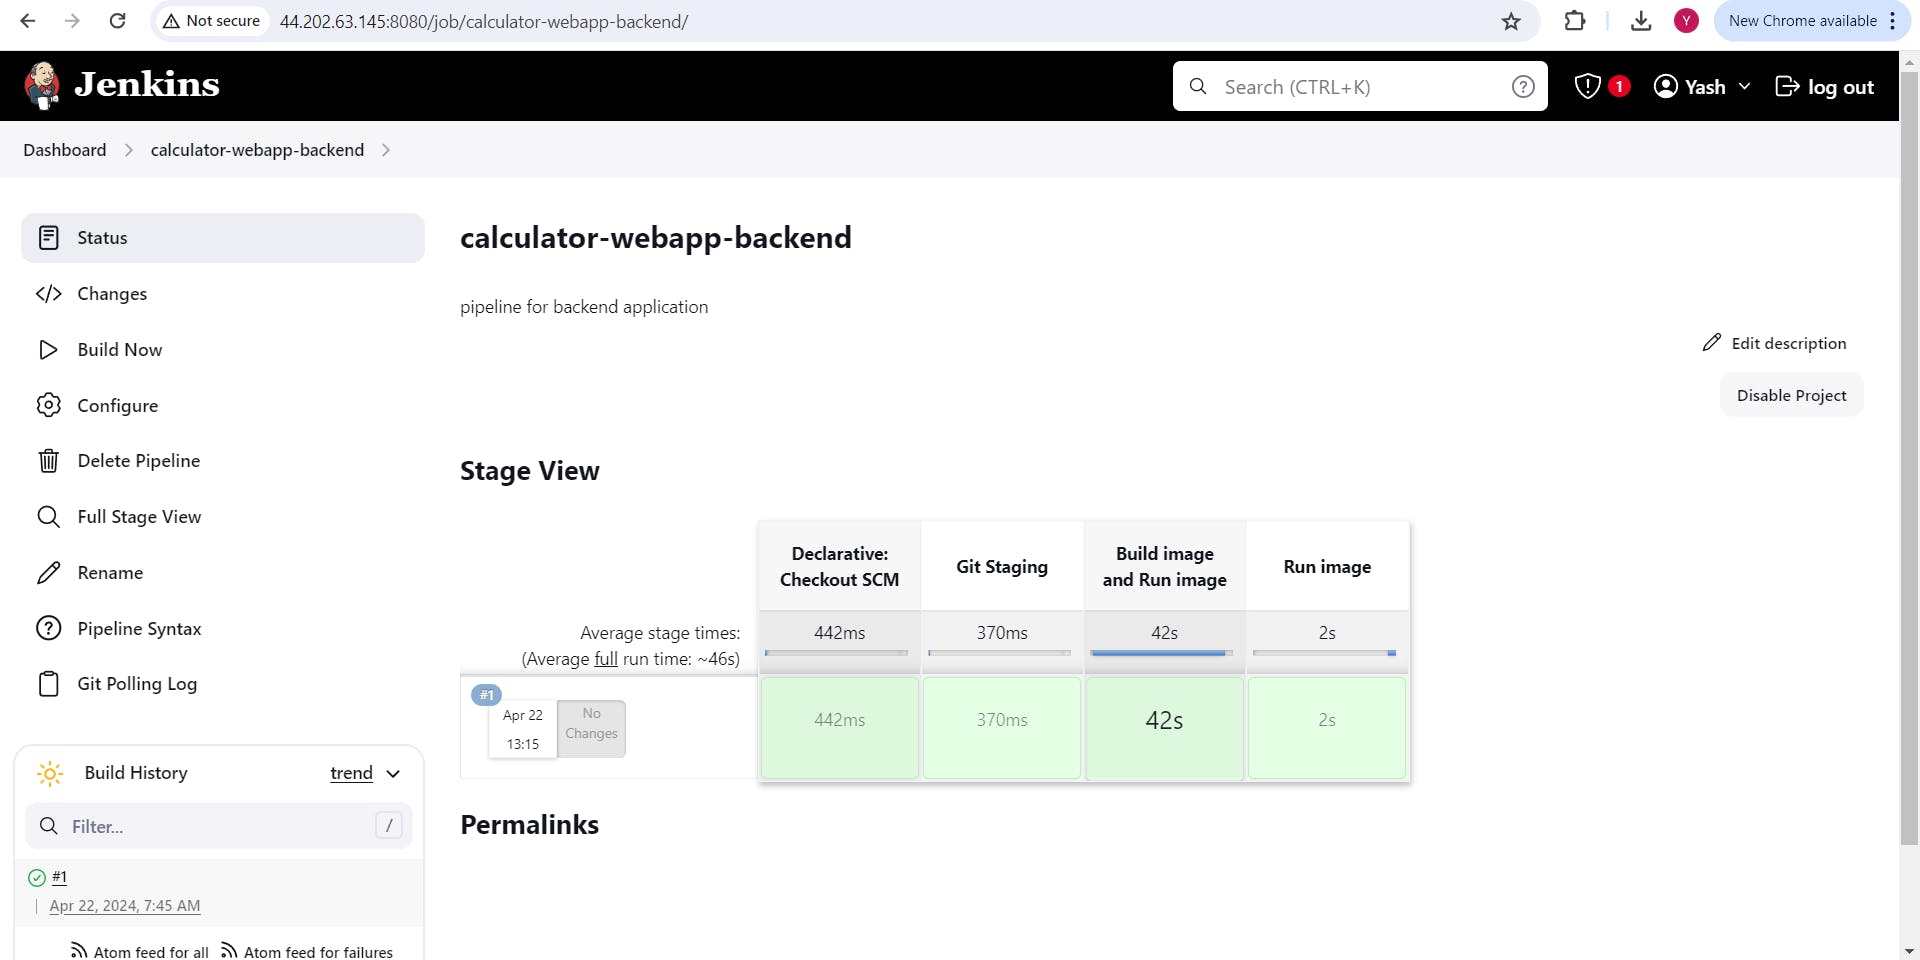
To run pipeline click on "Build Now" or wait for minute so it will trigger automatically.
Step 6: Configuring Nginx for Reverse Proxy
Edit the default Nginx configuration file to set up a reverse proxy for the frontend, which runs on port 81, and the backend applications, which run on port 5000.
Redirect traffic from / to localhost:81 and /webbackend/ to localhost:5000.

Step 7: Accessing the Deployed Application
Access your application via http://<public-ip>:80 in your web browser.
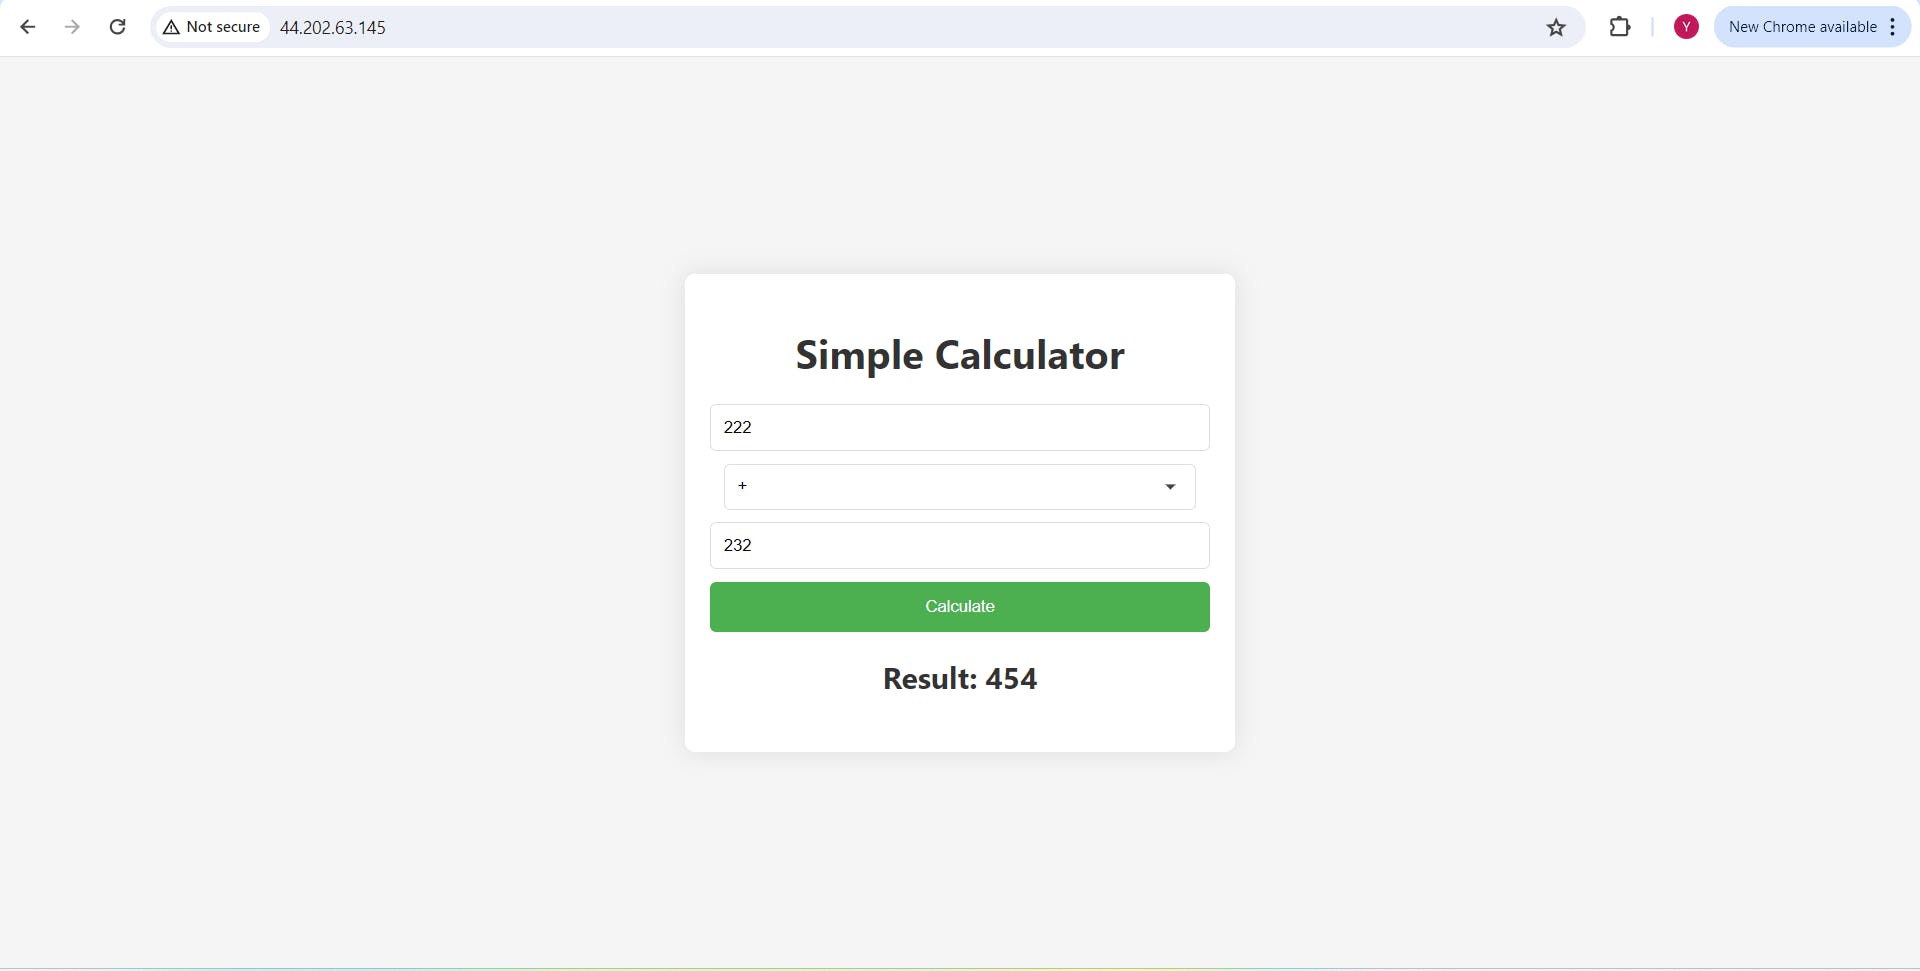
Congratulations! You have successfully deployed an Web application using Jenkins CI/CD Declarative Pipeline .
Please, feel free to drop any questions in the comments below. I would be happy to answer them.
If this Article was helpful, please do follow and click the like button below to show your support 😄✨